Lab design · 7 min read
School Science Lab Design Standards: A Practical Guide for International Schools
The standards behind a safe, workable school science lab: layout, services, furniture, fume cupboards and safety, for international schools.
By Charleston Education Team · Published
There is no single document called "the school science lab standard". A good school lab follows several sets of guidance at once: a furniture standard, a fume cupboard standard, safety guidance written for schools, and your local building and fire rules. For international schools in Thailand following a UK or international curriculum, the usual reference points are CLEAPSS guidance, the UK Department for Education building bulletins, and British and European standards such as BS EN 13150 (laboratory worktables) and BS EN 14175 (fume cupboards). Thai building, electrical and fire regulations then apply on top.
The main standards and guidelines to know
These are the documents that come up most often when we plan labs for international schools, and each covers a different part of the room.
| Reference | What it covers | Who usually uses it |
|---|---|---|
| CLEAPSS guidance (including its guide on designing and planning laboratories) | School-specific advice on layout, services, storage, prep rooms and safety | Heads of science, technicians, designers |
| UK DfE Building Bulletin 80 (science accommodation in secondary schools) | Room types, space planning and how science suites work together | Architects, heads, facilities managers |
| BS EN 13150 | Laboratory worktables: dimensions, safety and test requirements | Furniture suppliers, designers |
| BS EN 14175 | Fume cupboards: terms, safety, performance and on-site testing | Mechanical engineers, suppliers |
| BS EN 15154 | Emergency safety showers and eye wash units | Designers, plumbers |
| Thai building, electrical and fire regulations | Structure, electrics, fire exits, fire separation and local approvals | Your architect, engineers, contractor |
Guidance gets revised, so ask your designer which edition they are working to. Any dimensions in this article are typical figures for early planning. The exact figure should come from the relevant standard and your designer, checked against your school's age range and curriculum.
Start with how the room will be taught
Standards say what is safe, but they say nothing about how your teachers like to teach. Before anything is drawn, agree these points with your head of science:
- How many lessons per week involve practical work, and in which subjects (biology, chemistry, physics, general science)?
- What is the maximum class size, and how many students work at each practical station?
- Does the teacher need a demonstration bench at the front, or do they move around island benches?
- Will students write and use laptops at the same benches, or is there a separate theory area?
- Which curriculum is taught? IGCSE, A level and IB practicals have different equipment needs, and primary science is different again.
These answers drive the layout choice, which is the biggest decision you will make.
Choosing a layout
CLEAPSS and the DfE bulletins describe several common layouts. In practice most international school labs use one of the following, or a mix.
| Layout | How it works | Strengths | Watch out for |
|---|---|---|---|
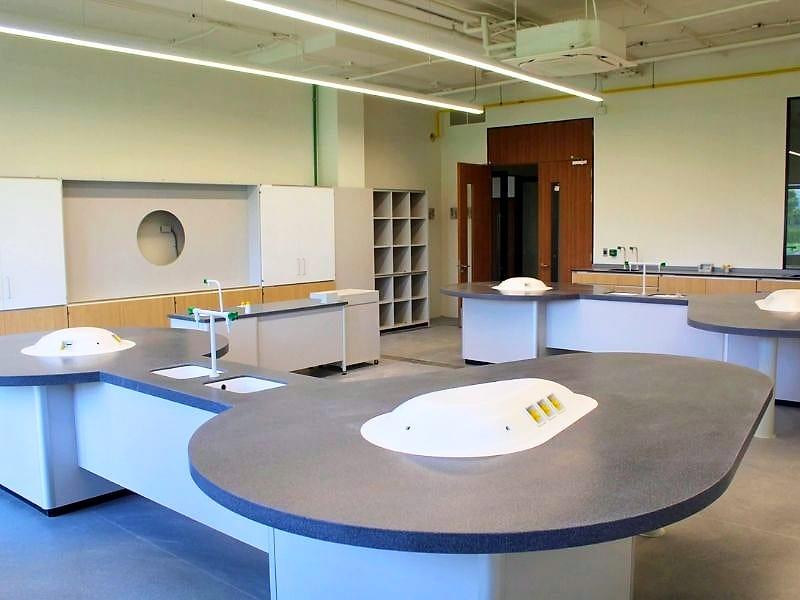
| Island (peninsula or freestanding) benches | Services in central islands, students face each other | Flexible groups, good supervision from the front | Needs floor or ceiling service routes to each island |
| Perimeter (wall) benches with central tables | Services on the walls, loose tables in the middle | Very flexible room, easier to re-arrange | Students turn their backs to the teacher during practicals |
| Fixed rows facing the front | Benches in rows, services on each bench | Familiar, good for demonstration | Least flexible, harder supervision of group work |
| Service bollards or booms with loose tables | Services drop from the ceiling or rise from bollards | Most flexible, suits mixed theory and practical | Higher service design effort, ceiling must suit |
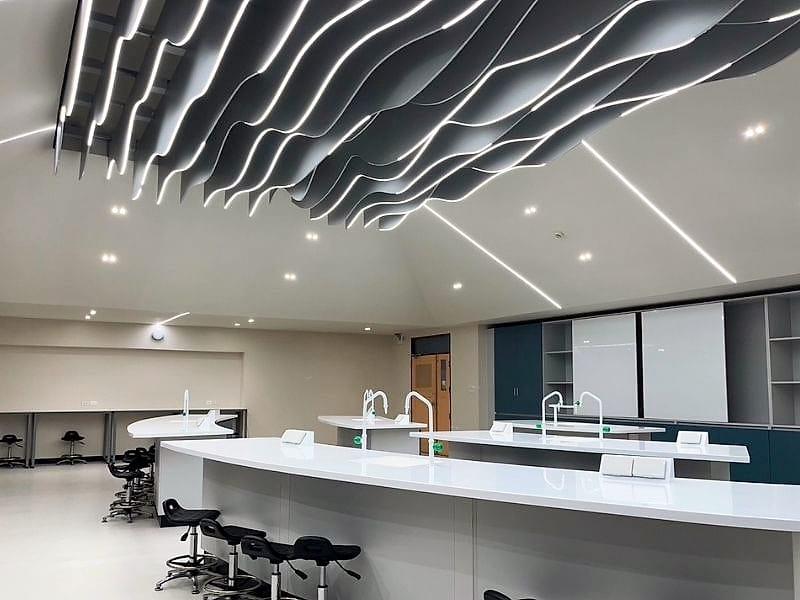
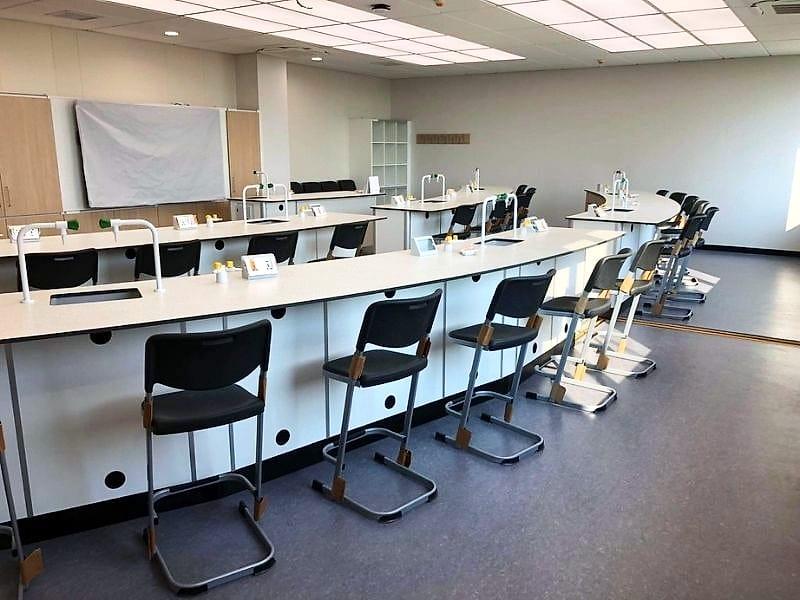
The island layout is the most common choice we see in secondary labs, and you can see examples in our project case studies. Whichever layout you pick, the teacher needs a clear sightline to every student and every gas tap.
Space and circulation
The DfE bulletins give area guidance for secondary science rooms, and CLEAPSS discusses space per student. Check the current guidance for the recommended area per lab and per student, then test it against your actual class sizes.
On site, look for:
- Walkways between benches wide enough for a student carrying equipment to pass someone seated or standing at a bench.
- Two exits where the room size and local fire rules require them, with no bench blocking the route.
- Space at the front for the teacher's demonstration bench and a clear view of the board.
- An accessible bench position for a wheelchair user or a student who needs to sit, with knee space and reachable services.
- Access to storage and the prep room that does not cross the main student walkway.
Furniture and worktops
BS EN 13150 sets requirements for laboratory worktables, including stability and load testing. When you compare suppliers, ask whether the furniture has been tested to it.
Bench heights
Secondary labs commonly use standing-height benches, typically around 900mm, with stools. Primary and seated work uses lower benches. The right height depends on the age range of your students and whether they stand or sit. We cover this in detail in Science Lab Bench Height and Layout: Primary vs Secondary.
Worktop materials
| Material | Typical use | Points to check |
|---|---|---|
| Solid grade laminate (compact laminate) | General science, most school labs | Chemical resistance rating, edge finish |
| Epoxy resin | Heavy chemistry use | Cost, weight, lead time |
| Ceramic or stainless steel | Specialist areas, sinks, prep rooms | Cost, noise, maintenance |
Ask for the supplier's chemical resistance data for the specific worktop, not the material in general.
Services: gas, water, electrics and extraction
Most lab problems start with services, and services are the hardest thing to change after handover.
Gas
- An emergency gas isolation valve within easy reach of the teacher, clearly labelled.
- Gas taps positioned so students do not reach across a flame.
- Pipework, testing and certification by a qualified gas engineer under local rules.
Water and drainage
- Sinks at each practical station or shared between a set number of students, agreed with your head of science.
- Drainage that suits lab use. Discuss with your engineer whether chemical-resistant pipework or a dilution approach is needed.
- An eye wash station and, where your risk assessment calls for it, an emergency shower, specified to BS EN 15154.
Electrics
- Sockets at each station for data loggers, hot plates and laptops.
- An emergency stop for bench power within reach of the teacher.
- Residual current protection, designed to Thai electrical regulations by a qualified electrician.
Ventilation and fume cupboards
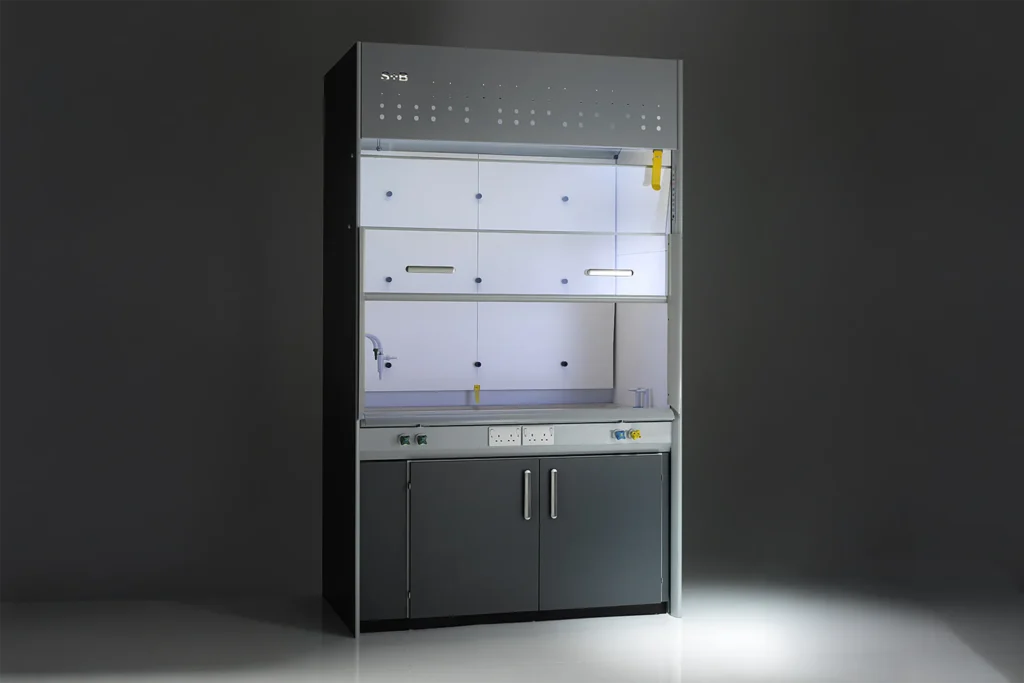
General room ventilation must suit the practicals you run. Where you need a fume cupboard, BS EN 14175 is the reference for performance and testing, and CLEAPSS publishes guidance on fume cupboards in schools. We compare the two main types in Fume Cupboards for Schools: Ducted vs Ductless.
Safety features checklist
Use this as a quick check on any lab drawing you are sent:
- Emergency gas isolation valve, labelled and reachable by the teacher
- Emergency stop for bench electrics
- Eye wash station positioned and specified to BS EN 15154
- Emergency shower, if required by your risk assessment
- Fire extinguisher and fire blanket in the right places for the room
- Two exits where required, with clear routes
- Chemical storage in the prep room, not the teaching room
- Non-slip, chemical-resistant flooring with sealed edges
- Clear sightlines from the teacher position to every station
- Accessible station for a student with a disability
The prep room and storage
Schools often plan the prep room last, though CLEAPSS guidance covers it in detail. Plan for:
- Ventilated chemical storage, with separation of incompatible chemicals.
- A technician's bench, sink and dishwasher or glassware washer.
- Lockable storage for hazardous materials.
- Trolley access to every lab without steps.
Turning standards into a project brief
Before you approach any contractor, write down the following. A written brief means every quote answers the same questions, so you can compare them.
- Number of labs, subjects and maximum class sizes.
- Preferred layout and any constraints (columns, windows, ceiling height).
- Services needed at each station.
- Fume cupboard requirement and preferred type.
- Prep room and storage needs.
- Budget, approved or expected.
- Target completion date.
Lab furniture is made to order and shipped, so start the brief early and agree the order date with your contractor.
Get the PDF version
This guide is available as a printable PDF, with the safety checklist and project brief template on separate pages for governor meetings, budget papers or briefing your architect. Enter your email below to download it.
Next step: check your existing labs
If you have older labs and want to know how they compare with current guidance, we can walk through them with your head of science and facilities team. A free Facilities Audit gives you an on-site review, a 3D concept and a budget range you can take to your board. See our science lab design and build service for what we deliver.
Related service: Science Labs
About the author: Charleston Education Team
The Charleston Education team designs, supplies and installs science labs and learning spaces for international schools across Thailand, working with SB Labs (UK), BFX (Australia) and our own furniture range.