Lab design · 5 min read
Science Lab Bench Height and Layout: Primary vs Secondary
How to choose science lab bench heights and layouts for primary and secondary students, with typical figures, seating, accessibility and a checklist.
By Charleston Education Team · Published
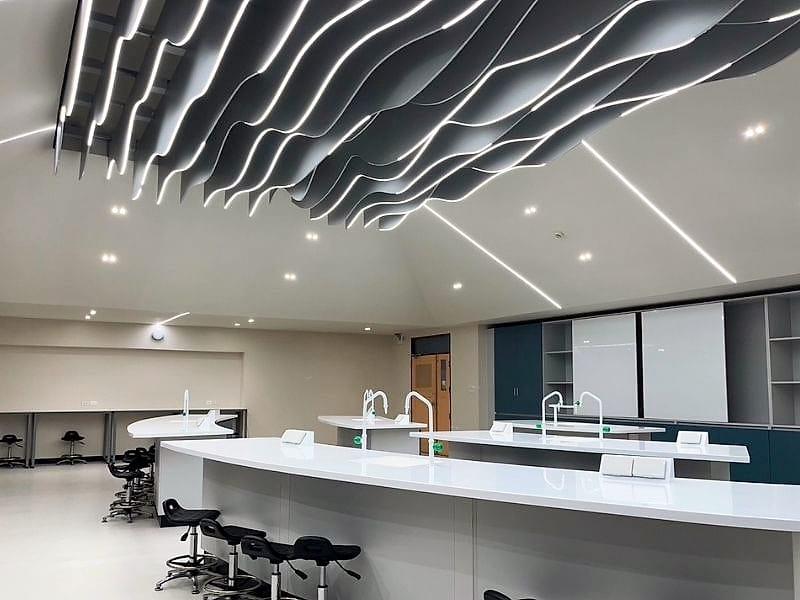
Secondary school science labs typically use standing-height benches, commonly around 900mm, so students can stand for practical work and sit on stools for writing. Primary science rooms use lower benches suited to seated work and smaller children. The right height for your school depends on the age range in each room, whether students stand or sit, and the furniture standard your designer is working to. Treat every figure in this article as typical, and confirm the final dimensions with your designer.
Why bench height matters
A bench that is too high puts heated liquids and flames close to a student's face. One that is too low makes students lean over their equipment, and over a long practical session the wrong height leads to hunching and fatigue.
Height also affects supervision. The teacher needs to see hands and equipment across the room, and very high benches or high upstands block the view. If one room serves several year groups, the height has to work for both the youngest and the oldest.
Typical heights at a glance
These are heights we commonly see in school labs. Use them as starting points for discussion; they are not specifications. Check BS EN 13150 (laboratory worktables), current CLEAPSS guidance and your designer's advice for the exact figures, and test them against the actual age range using each room.
Typical, confirm with your designer
| Use | Typical working height | Seating | Notes |
|---|---|---|---|
| Secondary practical, standing | Around 900mm | Stools, height to suit bench | Most common in secondary labs |
| Secondary seated theory and practical | [HEIGHT] mm | Standard chairs | Used where practical work is mostly seated |
| Upper primary seated work | [HEIGHT] mm | Chairs sized for the age group | Lower than secondary |
| Lower primary seated work | [HEIGHT] mm | Smaller chairs | Lowest of the group |
| Accessible station | [HEIGHT] mm, or height-adjustable | Wheelchair or standard chair | Knee space and reachable services needed |
| Teacher demonstration bench | [HEIGHT] mm | Usually standing | Often on the same level as student benches or slightly raised for visibility |
Choose chair and stool heights at the same time as the bench. The gap between the seat and the underside of the worktop matters as much as the worktop height.
Secondary labs: standing height with stools
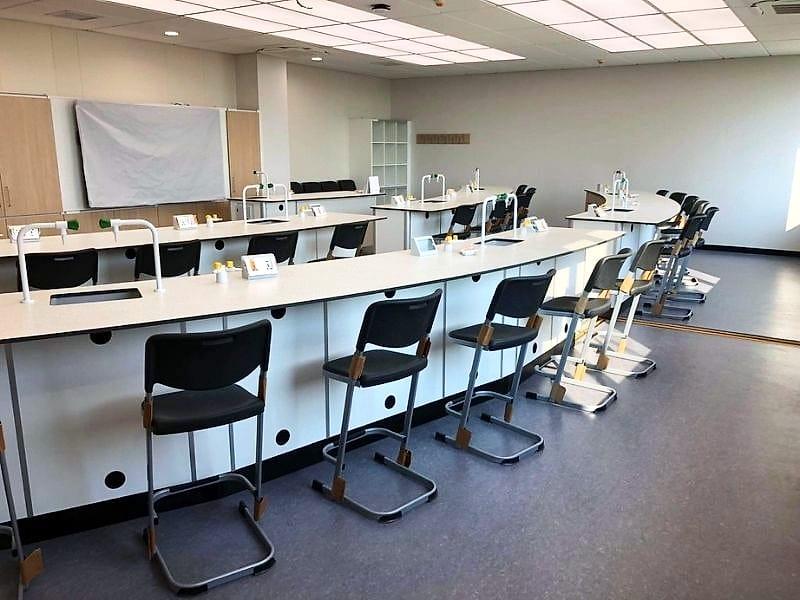
Most secondary labs we design and install use standing-height benches. Standing gives students better control of equipment and lets them step back quickly if something goes wrong, and stools let them sit for writing and calculations.
Points to get right
- Stools should let students sit with their feet supported, using a footrest on the stool or a foot rail on the bench.
- Decide where stools go during practical work. Some schools tuck them under the bench, others stack them, and the knee space has to suit whichever you choose.
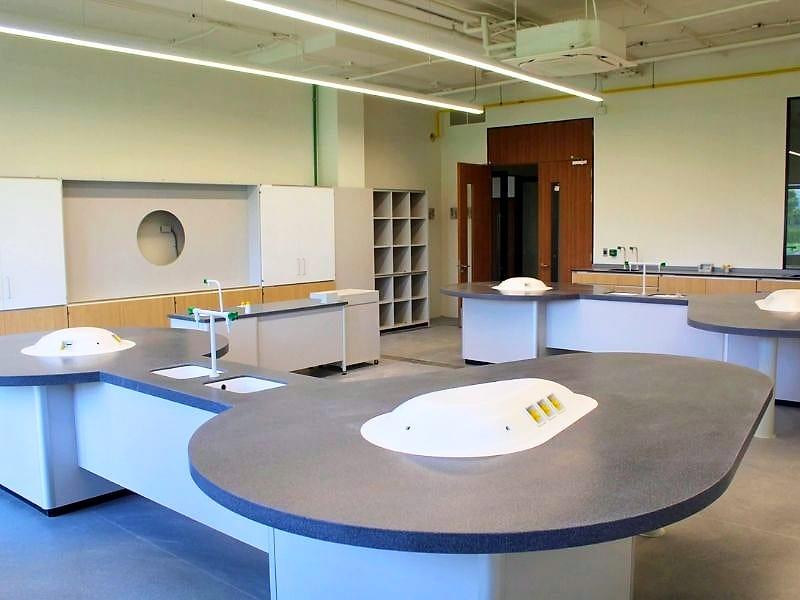
- Service spines in the middle of island benches carry gas, water and sockets. Keep them, and any upstands, low enough for the teacher to see across the room.
- Sinks in standing-height benches need enough depth for glassware without making students stretch.
Common secondary layouts
| Layout | Bench height approach | Works well for |
|---|---|---|
| Island benches | Standing height, services in the centre spine | General science, chemistry, biology |
| Perimeter benches with central tables | Standing height at walls, seated tables in the centre | Mixed theory and practical, physics |
| Bollards or ceiling booms with loose tables | Usually seated table height | Flexible rooms, IB and project work |
If you are unsure which layout suits your curriculum, our guide to school science lab design standards covers layout choices in more detail.
Primary science rooms: lower, seated and flexible
In primary science the practicals are simpler, groups round one table are often larger, and the children are much smaller. Many primary schools do not use gas at all.
What changes for primary
- Children work seated, so benches and tables are lower. Some schools choose two table heights in the same room for different year groups.
- There are fewer fixed services. Water and sinks are often at the perimeter only, and bench sockets may not be needed at every station.
- Loose tables on lockable castors let the room switch between practical work, carpet time and group work.
- Shelves, taps and switches must be within reach of small children, and anything hazardous must be out of reach.
- Sinks are lower, or have a step where the design and risk assessment allow, so children can wash hands and equipment safely.
Rooms used by primary and secondary
Some schools have one science room shared by upper primary and lower secondary. The options are:
- Height-adjustable benches that the technician sets for each class. Check how the adjustment works and how long it takes.
- Two zones in one room, one at standing height and one at seated height.
- Seated height throughout, with secondary students sitting for practicals. This works for some curricula but not for heavy chemistry use.
Accessibility
Every lab should have at least one station that a wheelchair user, or a student who cannot stand for long, can use comfortably. Accessibility guidance for buildings, and many school accessibility policies, set out principles that apply here. The station needs:
- A lower or height-adjustable section of bench.
- Clear knee space under the worktop, with no cupboards or pipework.
- Taps, gas and sockets reachable from a seated position, with lever or easy-turn controls.
- A clear route to the station, and space to turn.
- Eye wash and other safety equipment that can also be reached from a seated position.
Put this station in the first layout. Retrofitting knee space into an island bench later is expensive.
Layout and spacing
The right bench height does little good if the benches are too close together.
- Leave enough space between benches for a student carrying equipment to pass behind someone standing at a bench. Check the relevant guidance for exact figures.
- Keep exit routes clear of benches and stools.
- The teacher should see every station from the front of the room.
- Decide how many students share each station before you fix the number of benches.
Bench height checklist
Use this with your head of science and designer before signing off a layout:
- Age range of every class using the room is listed
- Standing or seated practical decided for each age group
- Bench heights confirmed against BS EN 13150 and current CLEAPSS guidance
- Stool or chair height chosen alongside each bench height
- Footrests or foot rails included where students sit on stools
- At least one accessible station with knee space and reachable services
- Service spines and upstands low enough for clear supervision
- Sink depths and heights suit the users
- Walkway widths checked against guidance
- Technician consulted on adjustment, cleaning and storage
Check your current labs
If your existing benches feel too high for younger classes, or your lab layout makes supervision difficult, start with a free Facilities Audit. We review the room with your science team, then show the options in a 3D concept with a budget range. Read more about our science lab design and build service, or see completed labs in our project case studies.
Related service: Science Labs
About the author: Charleston Education Team
The Charleston Education team designs, supplies and installs science labs and learning spaces for international schools across Thailand, working with SB Labs (UK), BFX (Australia) and our own furniture range.